Glassblowing Techniques: From Heat to Form
Understand the core methods that transform molten glass into stunning sculptural pieces. We break down temperature control, shaping tools, and the precision required.
What Makes Glassblowing an Art Form
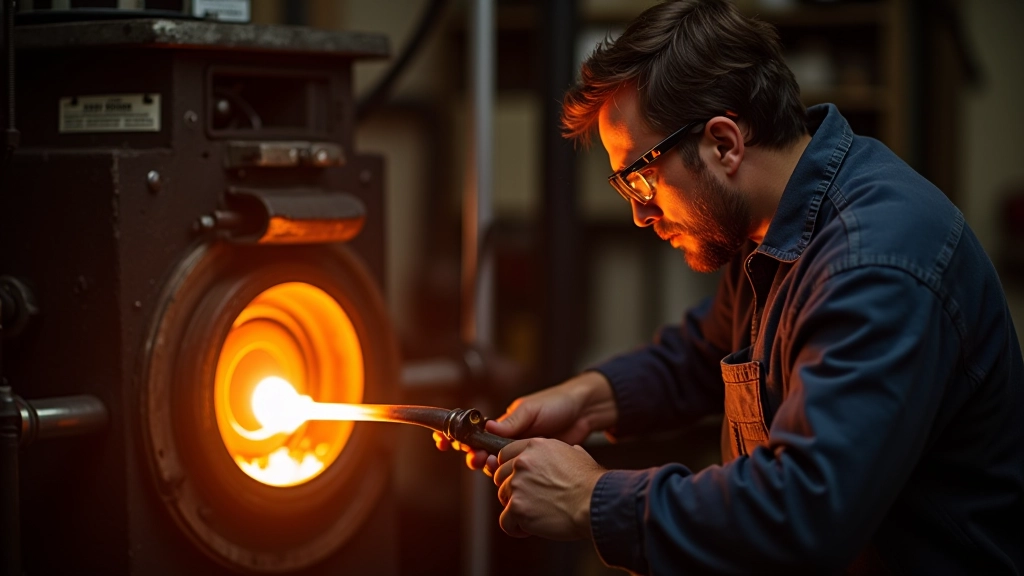
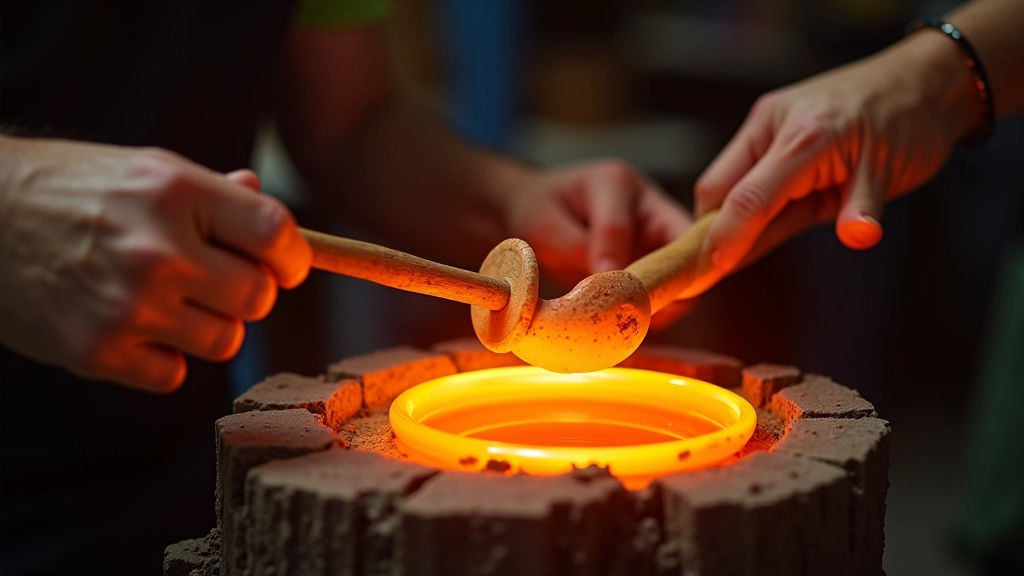
Glassblowing isn't just heating glass and blowing air through a tube. It's a precise dance between physics, intuition, and years of practice. The moment you gather molten glass on your pipe—around 2100°F (1150°C)—you're working with material that's both fluid and unforgiving.
What makes it truly special? The artist must work fast. Once glass reaches the proper temperature, you've got maybe 15-20 minutes before it cools too much to shape. There's no second take. No undo button. Every decision—how much to gather, where to blow, which tools to use—affects the final piece.
Temperature Control: The Foundation
Temperature determines everything. Too cold and the glass won't move. Too hot and you lose control—it becomes almost liquid. Most artists work in a narrow window between 2050°F and 2150°F. At these temperatures, the glass flows but still holds shape.
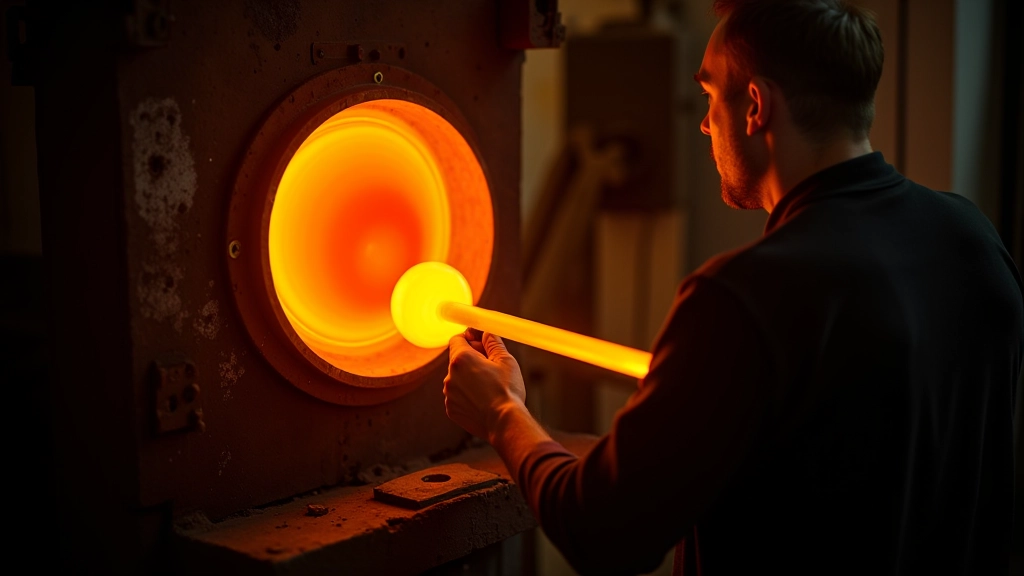
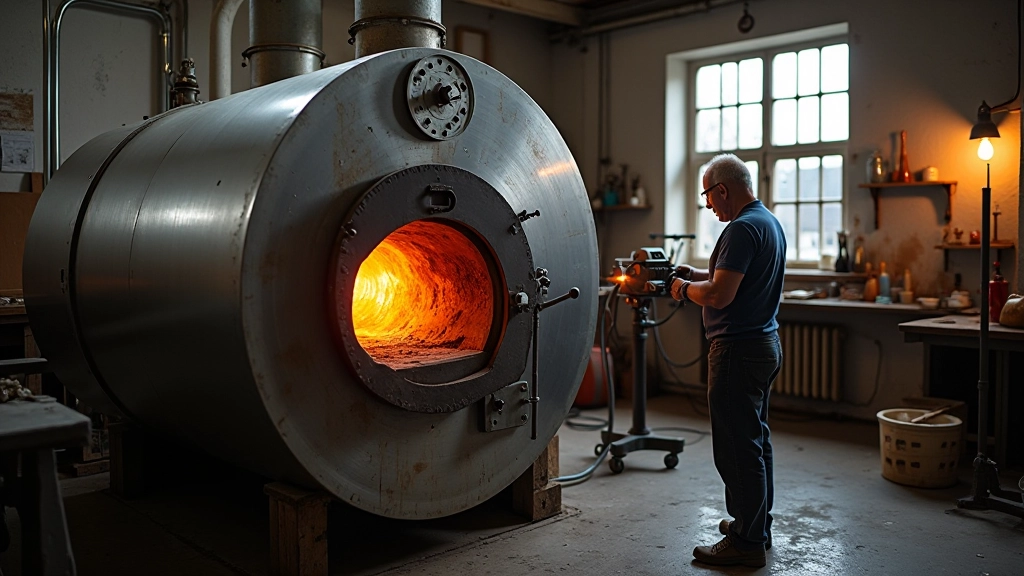
You can't use a thermometer. Instead, you read color. Glass at 2000°F glows deep orange-red. Push it to 2100°F and it shifts to bright orange-yellow. At 2200°F, it's nearly white. After doing this for years, experienced glassmakers can gauge temperature within 50 degrees just by looking.
Reheating is constant. Between shaping stages, you'll return your piece to the furnace—called a "glory hole"—multiple times. This keeps the glass workable. Cooling too much means you're fighting the material instead of guiding it.
The Shaping Process: Tools and Techniques
Once you've gathered glass on your pipe, shaping begins with blowing. But it's not random. The first blow creates the initial bubble—and this bubble's size and placement determines the whole form. Most pieces start with a bubble roughly 2-3 inches in diameter.
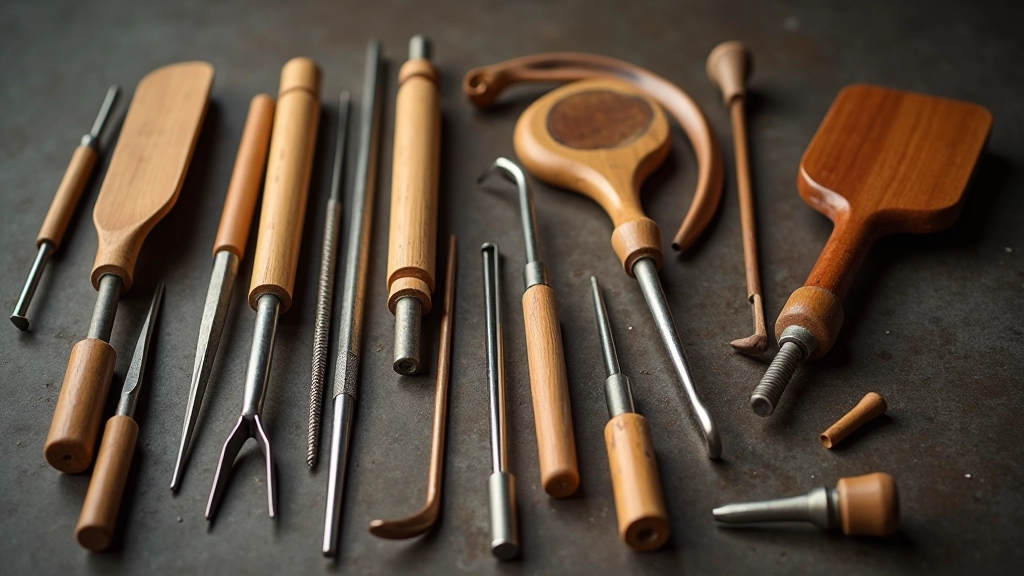
Then come the tools. Wooden paddles smooth surfaces and flatten areas. Jacks (metal pincer-like tools) pinch and define edges. Puntil rods attach to the opposite end for holding and manipulating. Tweezers add detail work. Each tool serves a specific purpose—and switching between them happens quickly.
The Punty Mark:
When you're finished, the piece must be removed from the pipe.
This leaves a small mark called a "punty mark" on the bottom.
Most artists carefully grind and polish this away, but some
leave it as evidence of the handmade process.
Key Techniques Every Glassblower Masters
These aren't fancy tricks. They're foundational methods that show up in nearly every piece you'll see in galleries across Europe.
Gathering
Inserting your pipe into the furnace and rolling it in the molten glass until you've collected enough material. The first gather sets everything up. Too much and you're struggling with weight. Too little and you won't have enough glass to work with.
Marvering
Rolling your hot glass across a smooth surface (usually a steel or marble table) to shape it evenly and seal any small cracks. This prevents weak spots that could fail as the piece cools. It's done multiple times during production.
Punting
Attaching a pontil rod to the bottom of your piece so you can remove it from the blowing pipe and continue shaping. This transfer requires perfect timing—attach too early and the connection fails; too late and you can't work anymore.
Annealing
Cooling the finished piece slowly in a special oven (annealer) at controlled temperatures. If you cool too fast, stress builds up inside and the glass will crack days or weeks later. Proper annealing takes 12-24 hours depending on thickness.
Why Precision Matters
You might think glassblowing is free-form and spontaneous. It's not. The best pieces come from artists who've practiced the same forms hundreds of times. They know exactly how much glass to gather, precisely when to blow, and which tools to use at each stage.
Small mistakes compound. A bubble that's slightly off-center means your piece will be unbalanced. A tool touch that's a half-second too late means a rim that's too thick. Thickness variations affect how light passes through the glass—and that's crucial for the final aesthetic.
This is why learning takes years. We're talking about 5-7 years minimum before most students create gallery-quality work. It's not just muscle memory. It's developing an intuition for how glass behaves under different temperatures and conditions.
The Cooling Puzzle: Why It's Not Simple
Here's what surprises people: the piece isn't finished when it leaves the pipe. In fact, cooling is where most failures happen. Glass cools from the outside in, and if the temperature gradient is too steep, internal stress builds up. The glass shatters—sometimes immediately, sometimes weeks later.
That's why the annealer exists. The oven slowly drops temperature by 10-15°F per hour, allowing stress to relieve gradually. Different glass types require different cooling schedules. Borosilicate glass (used for scientific pieces) needs slower cooling than soda-lime glass (common in decorative work).
Even after annealing, the piece isn't truly stable for days. The interior continues adjusting. Professional galleries know this—they don't immediately handle or move freshly annealed pieces.
From Heat to Form: The Complete Journey
Glassblowing techniques aren't mysterious once you understand the fundamentals. Temperature control determines workability. Tools shape the form. Precision separates amateur from professional work. Cooling requires patience and knowledge.
What's remarkable is that these techniques have remained largely unchanged for centuries. Yes, modern furnaces are more efficient, and we've got better safety equipment. But the core methods—gathering, blowing, shaping, annealing—are the same ones used by glassmakers in Venice 500 years ago.
If you've seen a live glassblowing demonstration and felt that combination of chaos and control, now you understand why. It looks spontaneous because the artist has internalized every technique through years of repetition. That's not magic—it's mastery.
Want to see these techniques in action? Our gallery hosts live glassblowing demonstrations every weekend. You'll watch artists create pieces from start to finish—and understand firsthand why temperature, timing, and precision matter.
Explore Our GalleryAbout This Article
This article provides educational information about glassblowing techniques and processes. Information is based on established glassmaking practices and safety standards. While we've made every effort to be accurate, individual techniques and approaches vary between artists and studios. If you're interested in learning glassblowing, we recommend working directly with experienced instructors in a properly equipped studio with appropriate safety equipment and ventilation. Glassblowing involves extreme temperatures and potential hazards—professional guidance is essential.
Related Articles